Lesson 4. Let’s Go, SenseHAT!
| Authors: | Paul Xu, Marcus Penny |
|---|---|
| Date: | Jan 28, 2018 |
| Time: | 1 hour |
Lesson Information
Having learned the basics of calculations, the students can now get started with writing their first programs with SenseHAT. They will learn how to use sense.show_message() to light up their SenseHAT. They will also learn the differences between different program output channels.
The purpose of the lesson is to:
- Begin writing programs (instead of using the interactive shell)
- Learn how to import libraries and use library functions
- Gain basic understanding of programming flows
Driving Questions:
- What is output? What are the different output channels that we are using?
- What is a function? How to pass function parameters?
- What are programs? How do computers read and execute our programs?
Computer Science Concepts:
functions, parameters, libraries, objects
Materials Needed:
Raspberry Pi 3, SenseHAT addon board
Target Skills:
Students will be able to
- SWBAT tell what a SenseHAT is and what the components of SenseHAT are
- SWBAT write their first programs to control their SenseHAT LED Matrix
- SWBAT write programs to display multiple messages
- SWBAT articulate the differences between output to shell and output to SenseHAT
Instructional Plan and Structure
With initial understanding of variables, data types, and some basic Python syntax, the students are now ready to write their first program to control SenseHAT in Python.
Overview of the lesson (10 minutes)
As a motivation, first run a few existing programs showing the students what they are going to do in the future, in order to pique their interest.
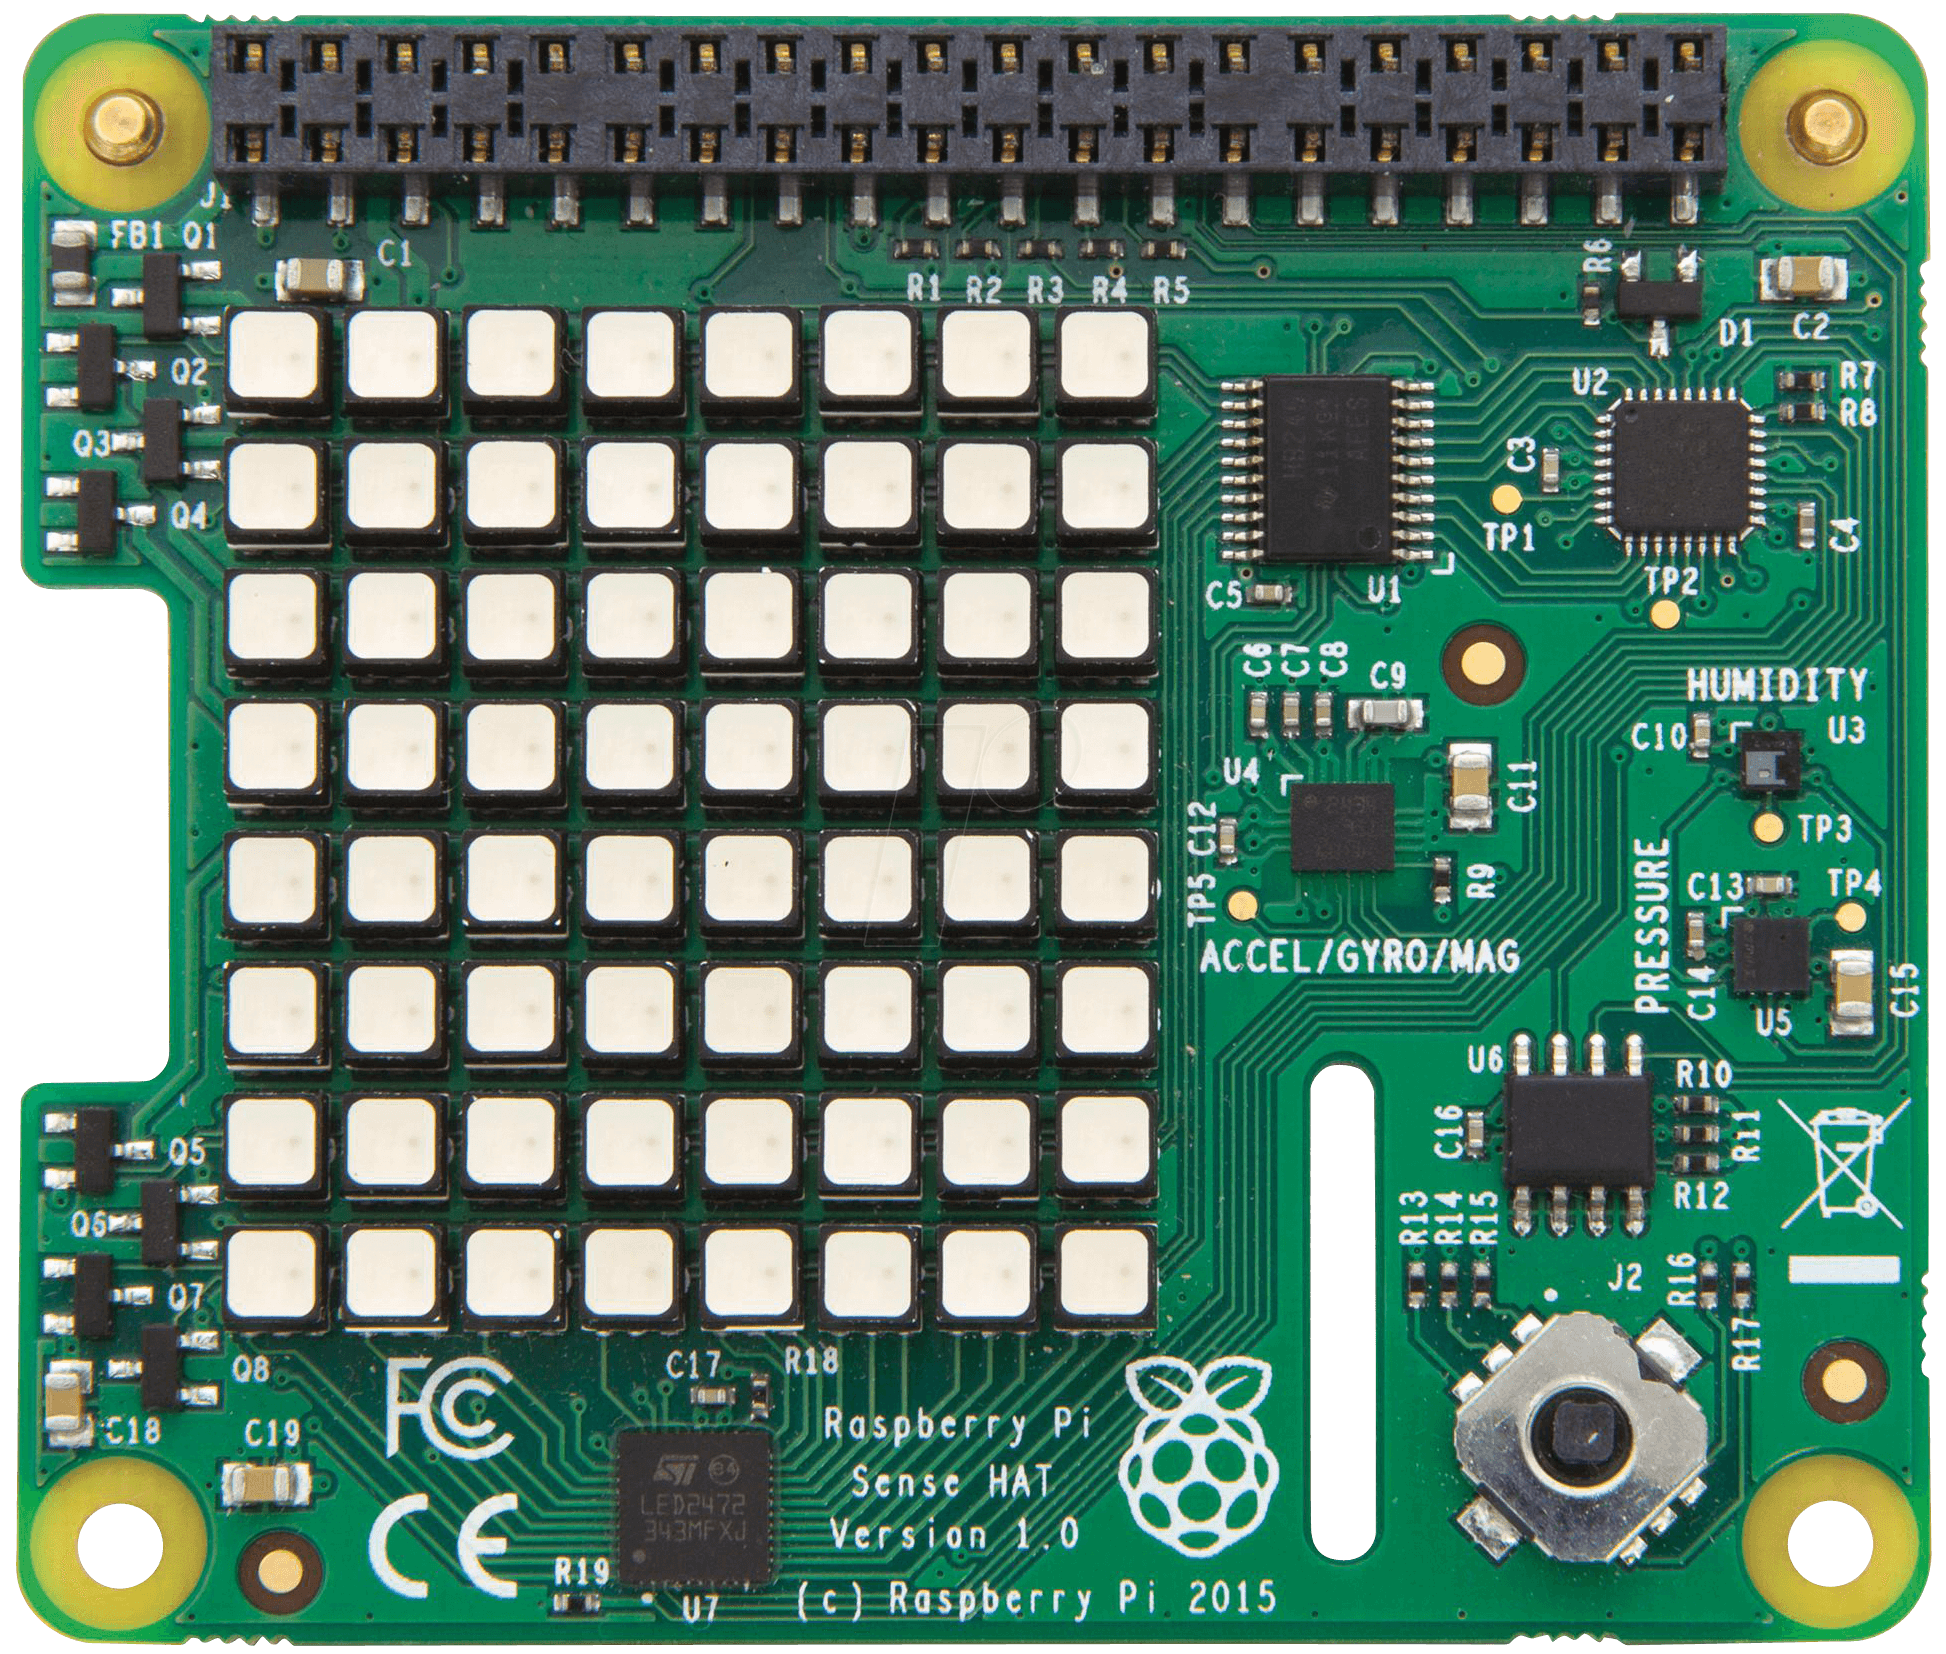
Handout SenseHAT to each pair of students. Briefly introduce a little bit of the SenseHAT’s background and its connection to the Astro Pi Project. Encourage the students to explore what each component of SenseHAT does on their own.
- LED Matrix (8 by 8 dimension)
- Humidity Sensor
- Pressure Sensor (both sensors are capable of sensing temperatures)
- IMU Sensor (used to sense the orientation of SenseHAT)
- Joystick (5 directions)
The following picture could also be helpful:
Light it up! (20 minutes)
Now we will write a simple program to light the SenseHAT up! We will get back to the code and explain what each part does, but for now, simply type in these following three lines into Thonny Python (the upper part of the window, not the shell).
from sense_hat import SenseHat
sense = SenseHat()

sense.show_message("Hello Python!")
Watch for the following errors:
- Capitalization
- Spelling
- Underscore
_insense_hat - Matching parentheses and quotation marks
If you have done everything correctly, the SenseHAT should light up and show a scrolling message “Hello Python!”!
If some students have finished this task, some challenges for them could be:
- Change the contents of the message
- Also print a message to shell
- Have the SenseHat display a series of messages
- Run the program in the terminal
Wrap up and reflection (20 minutes)
We have just written our first program. Our SenseHAT is working, and we have figured out how to display different messages, a series of messages, and show the messages in the different place. Let’s now come back to the code we have just written, and see what exactly is going on:
1 2 3 4 5 6 | from sense_hat import SenseHat # import all SenseHAT related stuff from sense_hat library.
sense = SenseHat() # point all operations to the SenseHAT on this machine
sense.show_message("Hello Python!")
print("Hello Python")
sense.show_message("Goodbye!")
|
First, we imported all SenseHAT related functionalities in Line 1. Then, we created a sense variable. We don’t need to understand what is going on here right now, but we can understand this step as creating a short-cut pointing to the SenseHat on your Raspberry Pi.
Line 3 is the most important. In Python, we use this “dot notation” to express “ask someone to do something”. So, sense.show_message() literally asks the SenseHAT to show a message on the LED matrix. The latter part of this line .show_message() is a function. For now, we can understand functions as “small programs” that does something on the things you give to them. You give (pass) these things, which are called parameters in the parentheses (). Here, you pass the function a string, and this function tells python to put this string on to SenseHAT.
To summarize, a function is a piece of program that has a name (e.g. show_message, print) and a set of parentheses (). You can pass parameters into the parentheses, so the function will do things for you.
We also used the print function on Line 4 to display a message to the shell (terminal). This illustrates that we can control our program to output to different channels. Think of your cellphone. When you play music on your cellphone, you can choose to output the music through your headphones, the speakers on the phone, or a bluetooth speaker. Here we can choose to output the message to the shell or to SenseHAT. You need to use different functions to achieve that. Later we can write program to output the message to other computers.
You also noticed the sequence in which these messages are displayed. Python reads the program just like we do - line by line, and execute the program line by line as it reads it. If we change the order of our code, the order of execution will be different as well.
Review and Assessment
- How does Python read and execute our programs?
- How do we output a message to shell or to SenseHAT?
- What does a function do? How do we pass parameters to functions?